

We made something perfect
Well, almost! Join us in this step-by-step perfect binding process we are developing for our binding portfolio.
Perfect binding the DIY way
Hey y’all! Maddie here to give you the scoop on DIYing your way to professional bookbinding status. It’s been a long time coming, and we’ve still got more to learn—but I’m thrilled to say we’re getting ready to offer perfect bound books!
Sit back and enjoy this issue of CART Direct, where we dive into:
Saddle-stitch vs. perfect binding
How to perfect bind step-by-step
Our fave projects of late
First: what is perfect binding?
Let’s talk vocab. The regular, classic style of binding we currently offer is called Saddle Stitch. This method requires us to print at least four comic pages on a single sheet, fold it in half, and secure it with two staples. (Saddle stitch is usually done with thread in traditional bookbinding, but in the DIY zine scene, staples are much more common.) If you’re a regular at zine fests, this is probably the type of zine you’ve seen the most.

Perfect binding is one of the most common methods used for paperback books. If you pick up the nearest novel and check out the spine, you’ll likely see perfect binding in action.
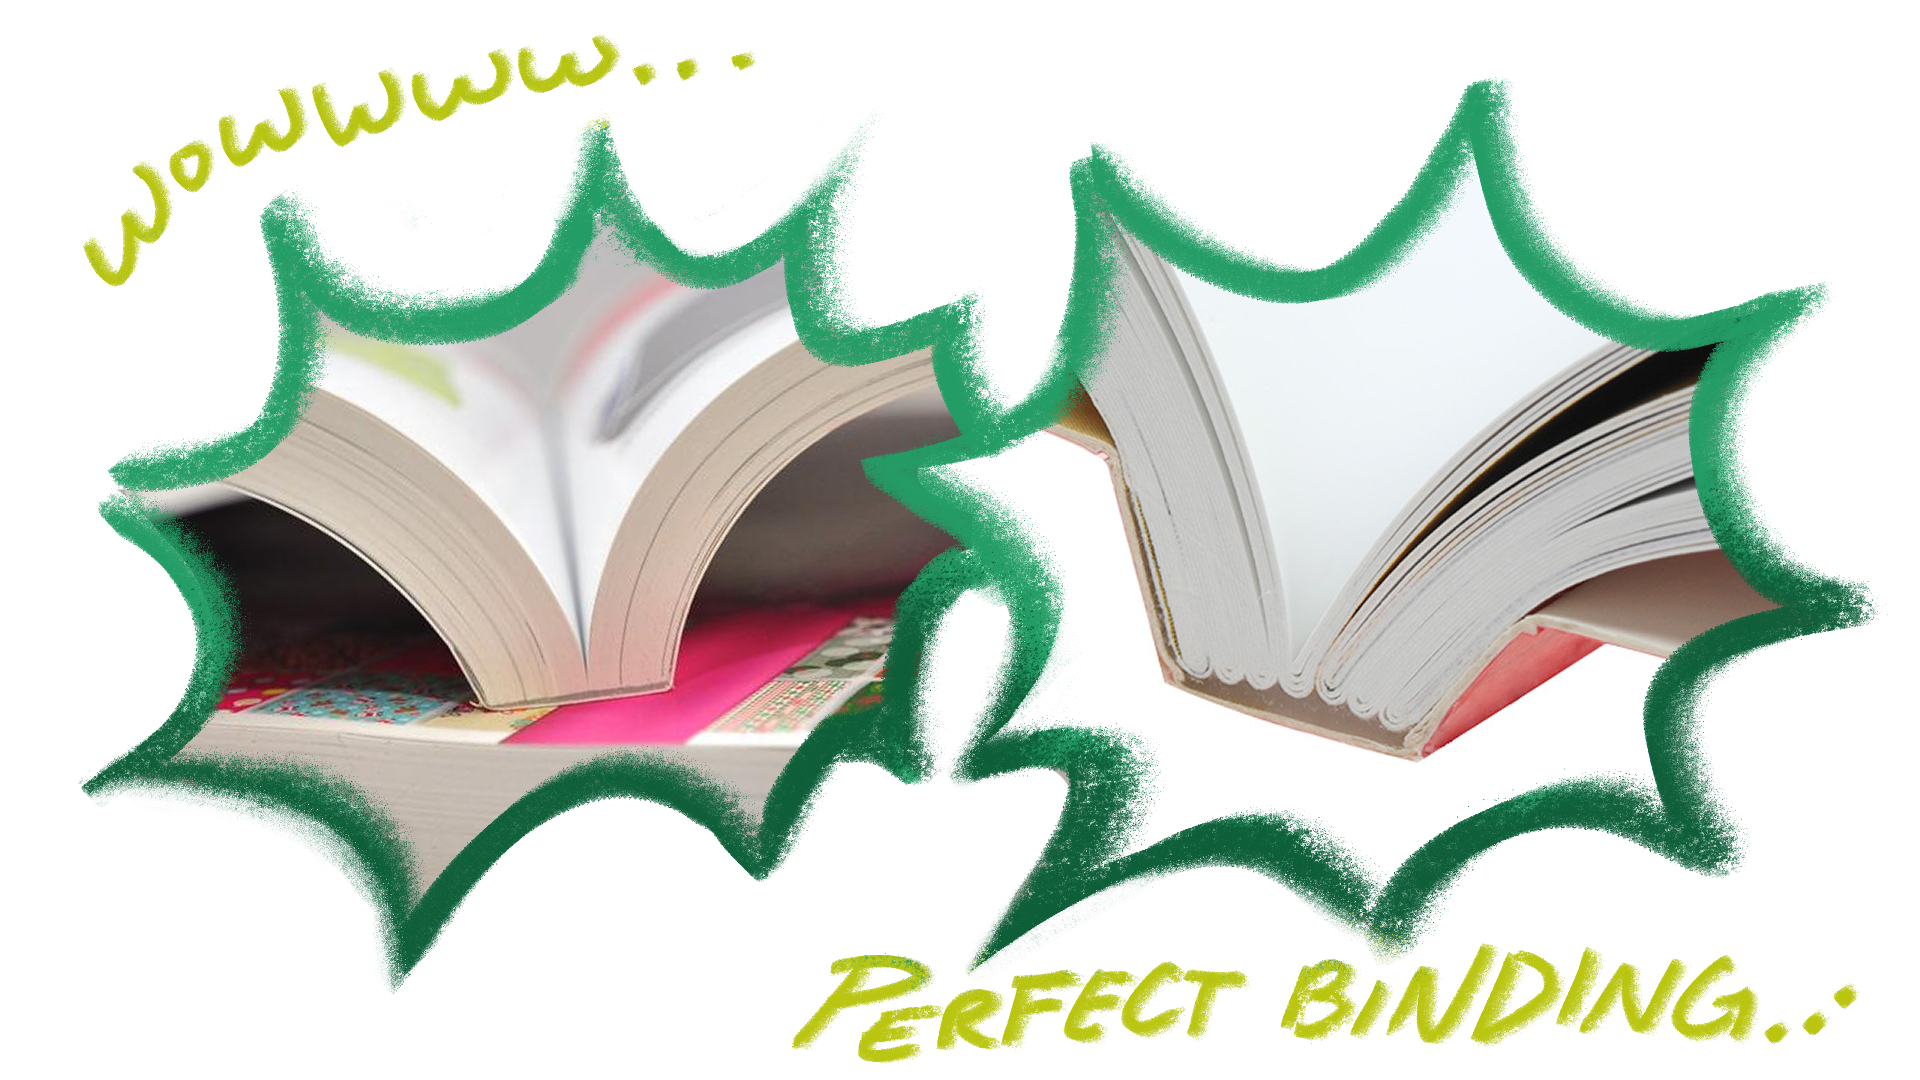
Perfect binding uses a messy but essential tool: glue. The glue creates a flexible but sturdy spine, allowing us to print much larger books than saddle stitch can support. With staples, your page count is limited!
Our perfect-binding secret sauce:
Mind you, we’re still at the very beginning of crafting the perfect process for perfect binding. If you’ve got tips for us (magic number of glue layers?), we’d love to hear them in the comments!
We’re documenting the whole ordeal so we can all learn together. Here’s a look at our first attempts and how we made it happen:
1. COLLECT YOUR SUPPLIES
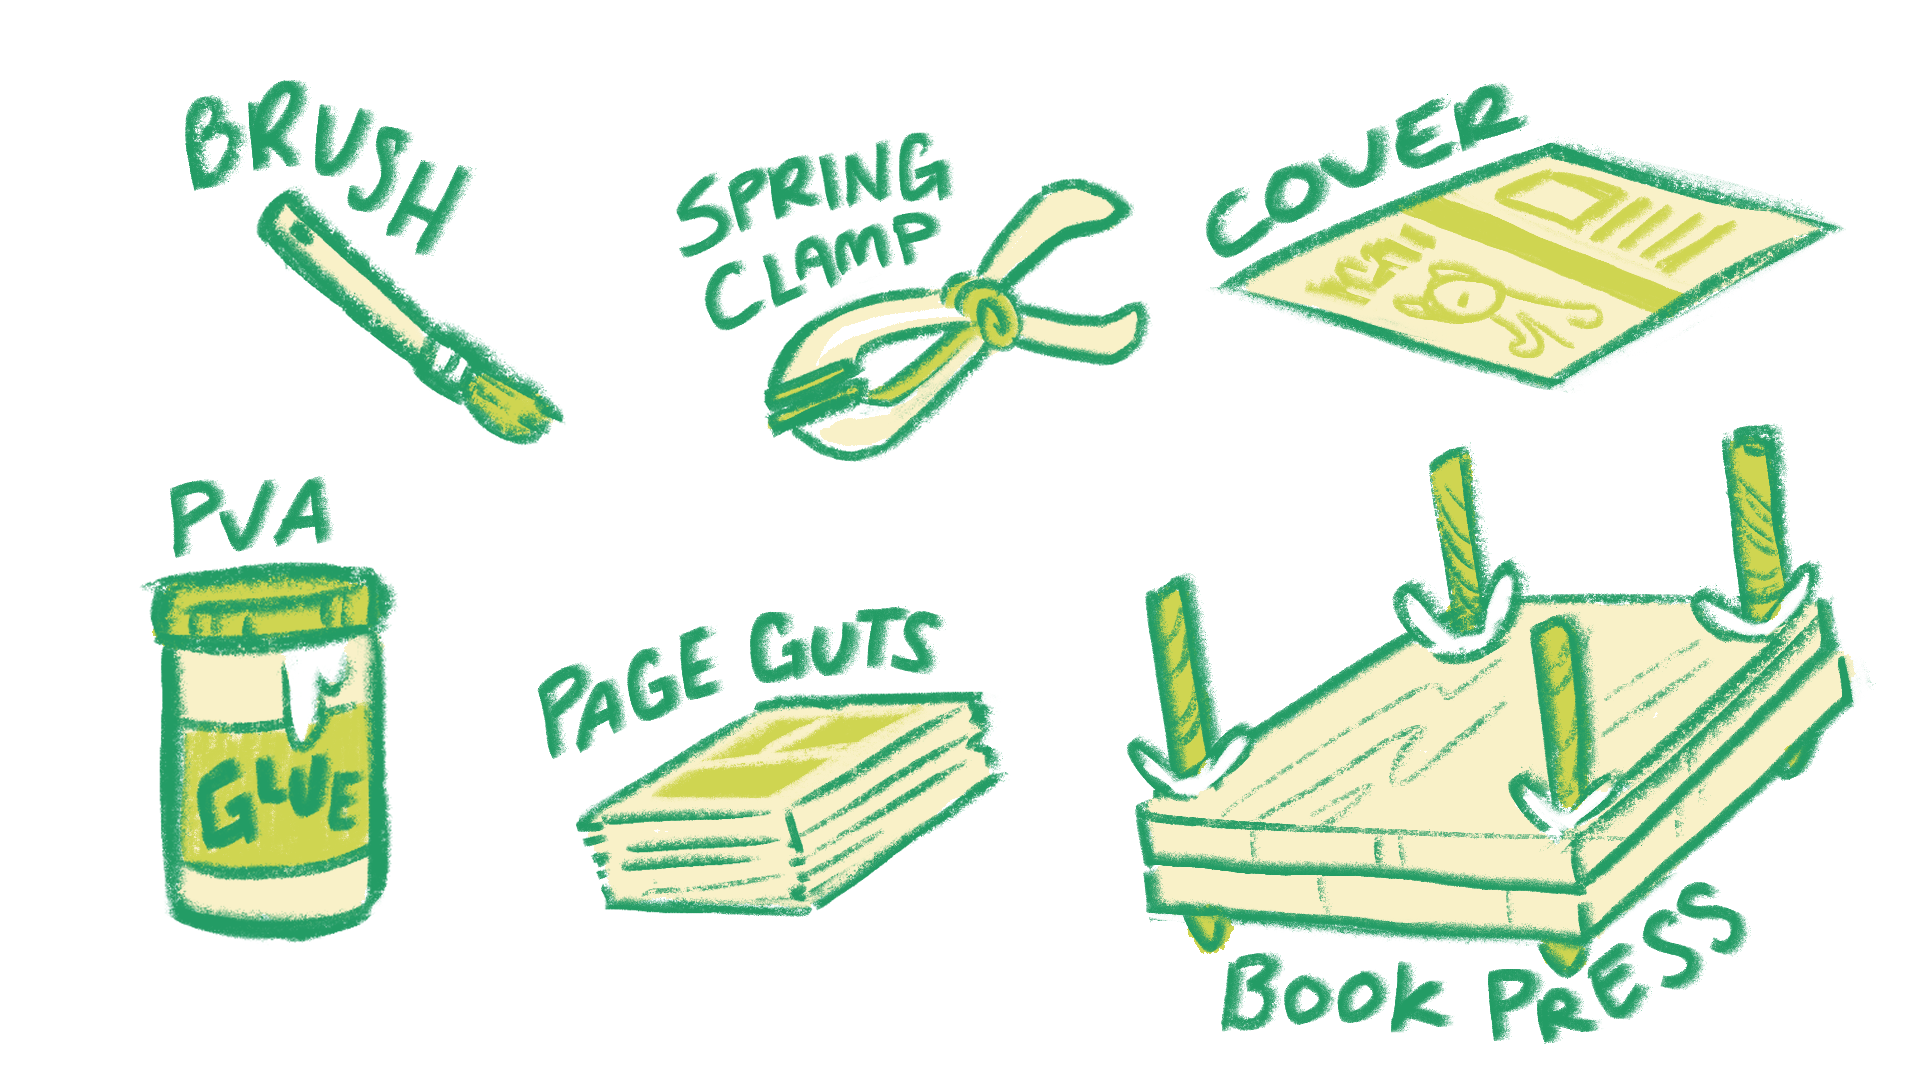
For our CART Press perfect bindingᵗᵐ, you will need:
Brush for glue
Spring clamps (of different sizes, we got 6” and 4”)
pH neutral PVA glue
your book guts & cover
Homemade book press
2. MAKE A PAPER BLOCK
Gather your pages! In perfect binding, we can print double-sided on full sheets and stack the story in order—no folding required! This works great for thicker papers. For thinner, coated papers, we’ve found it helps to separate pages into four-paper signatures.
Vocab word: Signatures are groups of folded paper held together by stitching and stacked to make a book. Using signatures gives thinner paper more surface area for the glue to grab onto.
Line up your comic’s guts as neatly as possible. Secure them flat, tight, and straight with the vice grips.
3. COVER PREP
Before gluing, prep your cover. Measure the thickness of your paper block so you can size the spine properly. Score the cover using those measurements so it’s ready to wrap neatly around the paper block.
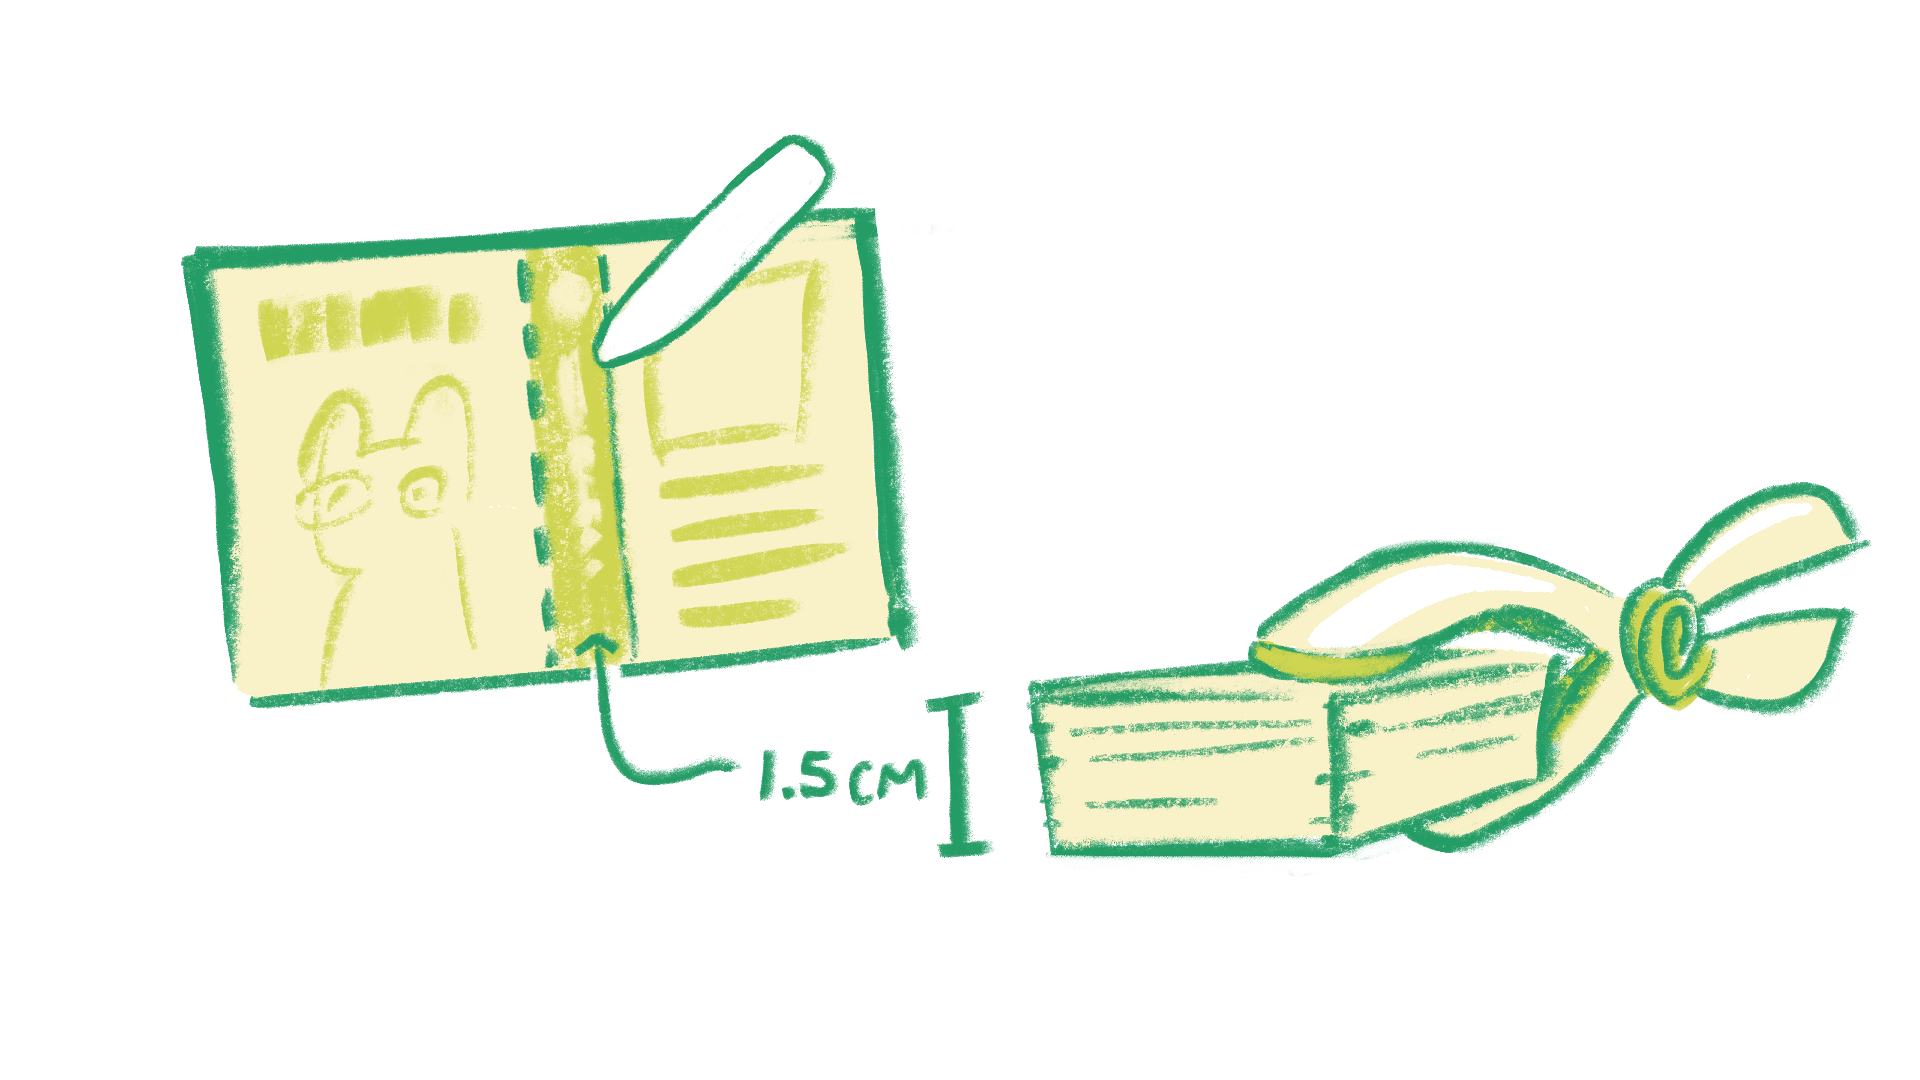
4. GLUE GLUE GLUE!
Time to build the spine! Brush the left edge of the book with the PVA glue. You’ll need at least four layers of glue total.
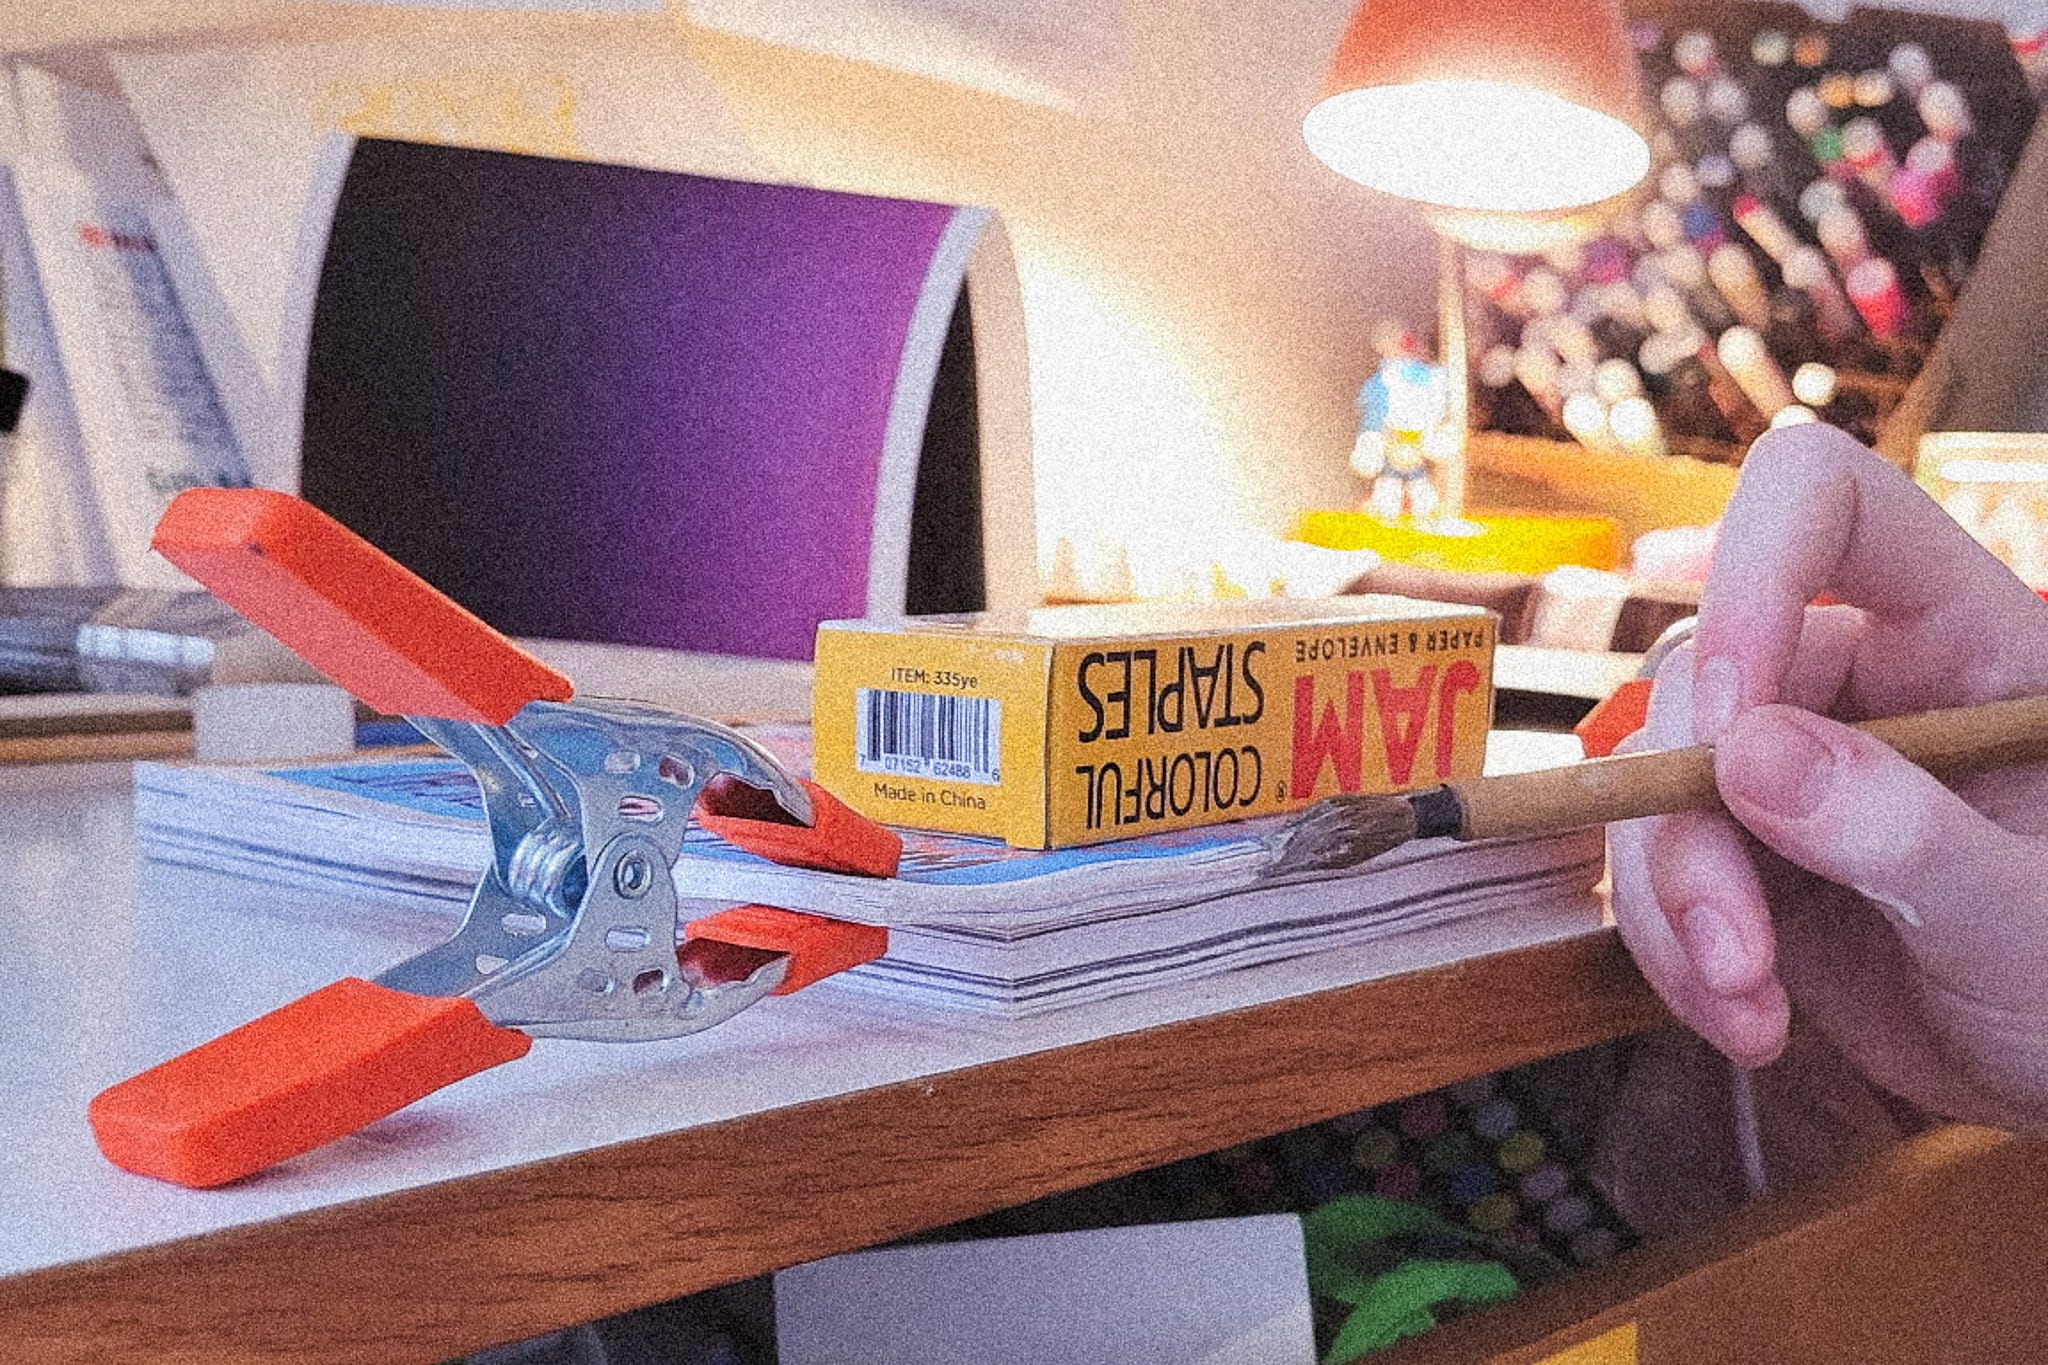
The first coat is the most important—it needs to thoroughly grab each page's edge. I was surprised by how quickly the spine layers dry! I was worried about drying time, especially with multiple coats, but now I can see how you could make several of these in just a few hours.
How... Perfect!
5. PUT IT ALL TOGETHER
Once the spine is built, remove the paper block from the vice grips. Apply a final thin layer of glue and carefully press the block into the spine of the pre-scored cover.
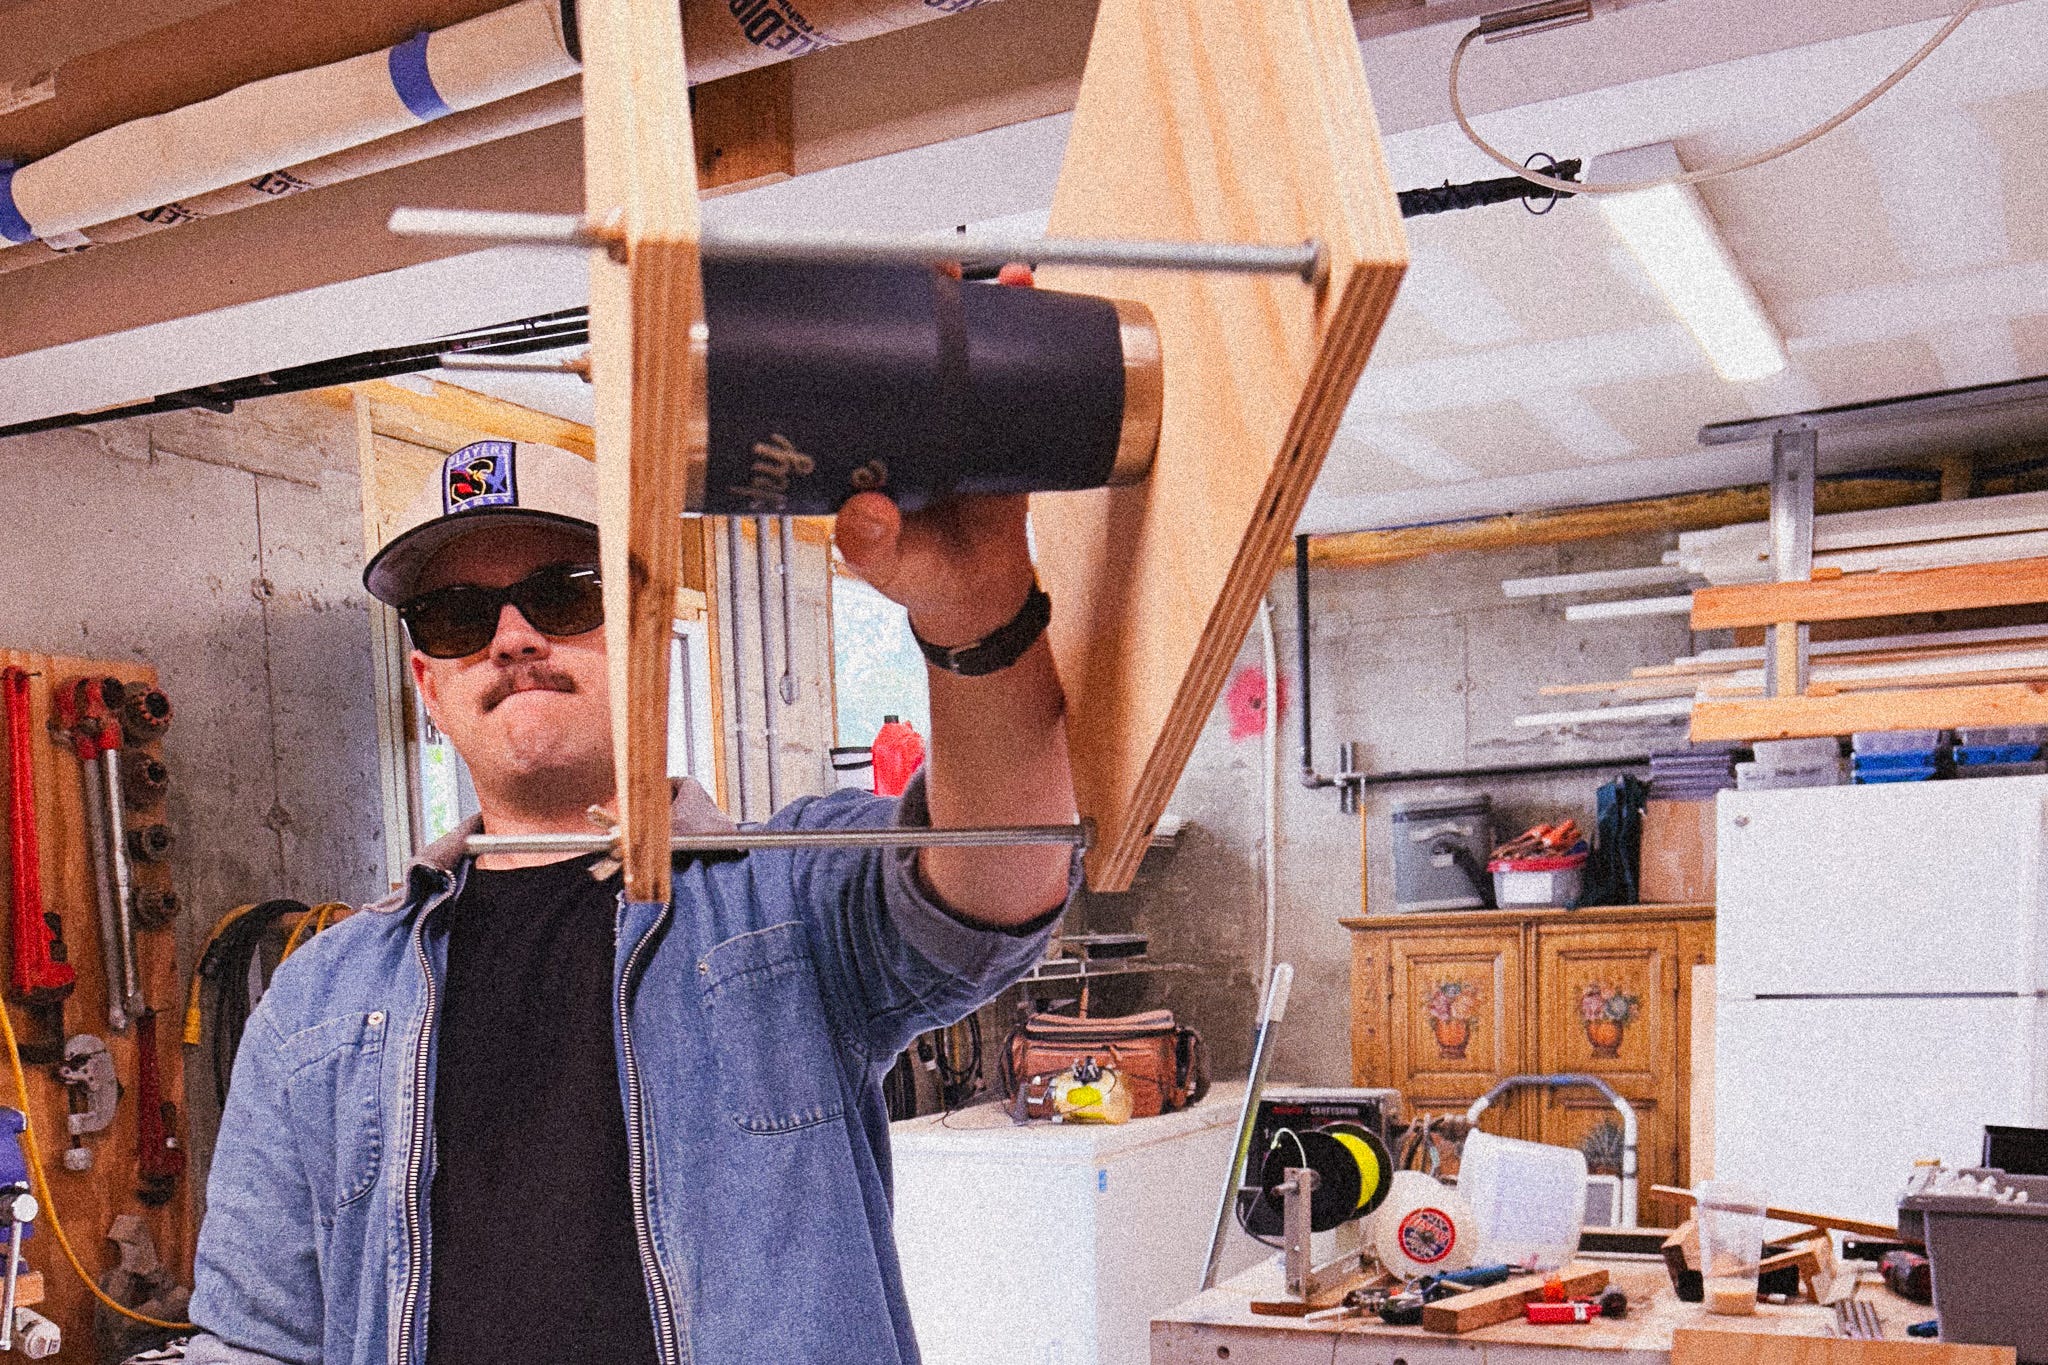
6. PRESS
Now we press the book to help the glue settle and the pages lay flat—don’t skip this step!
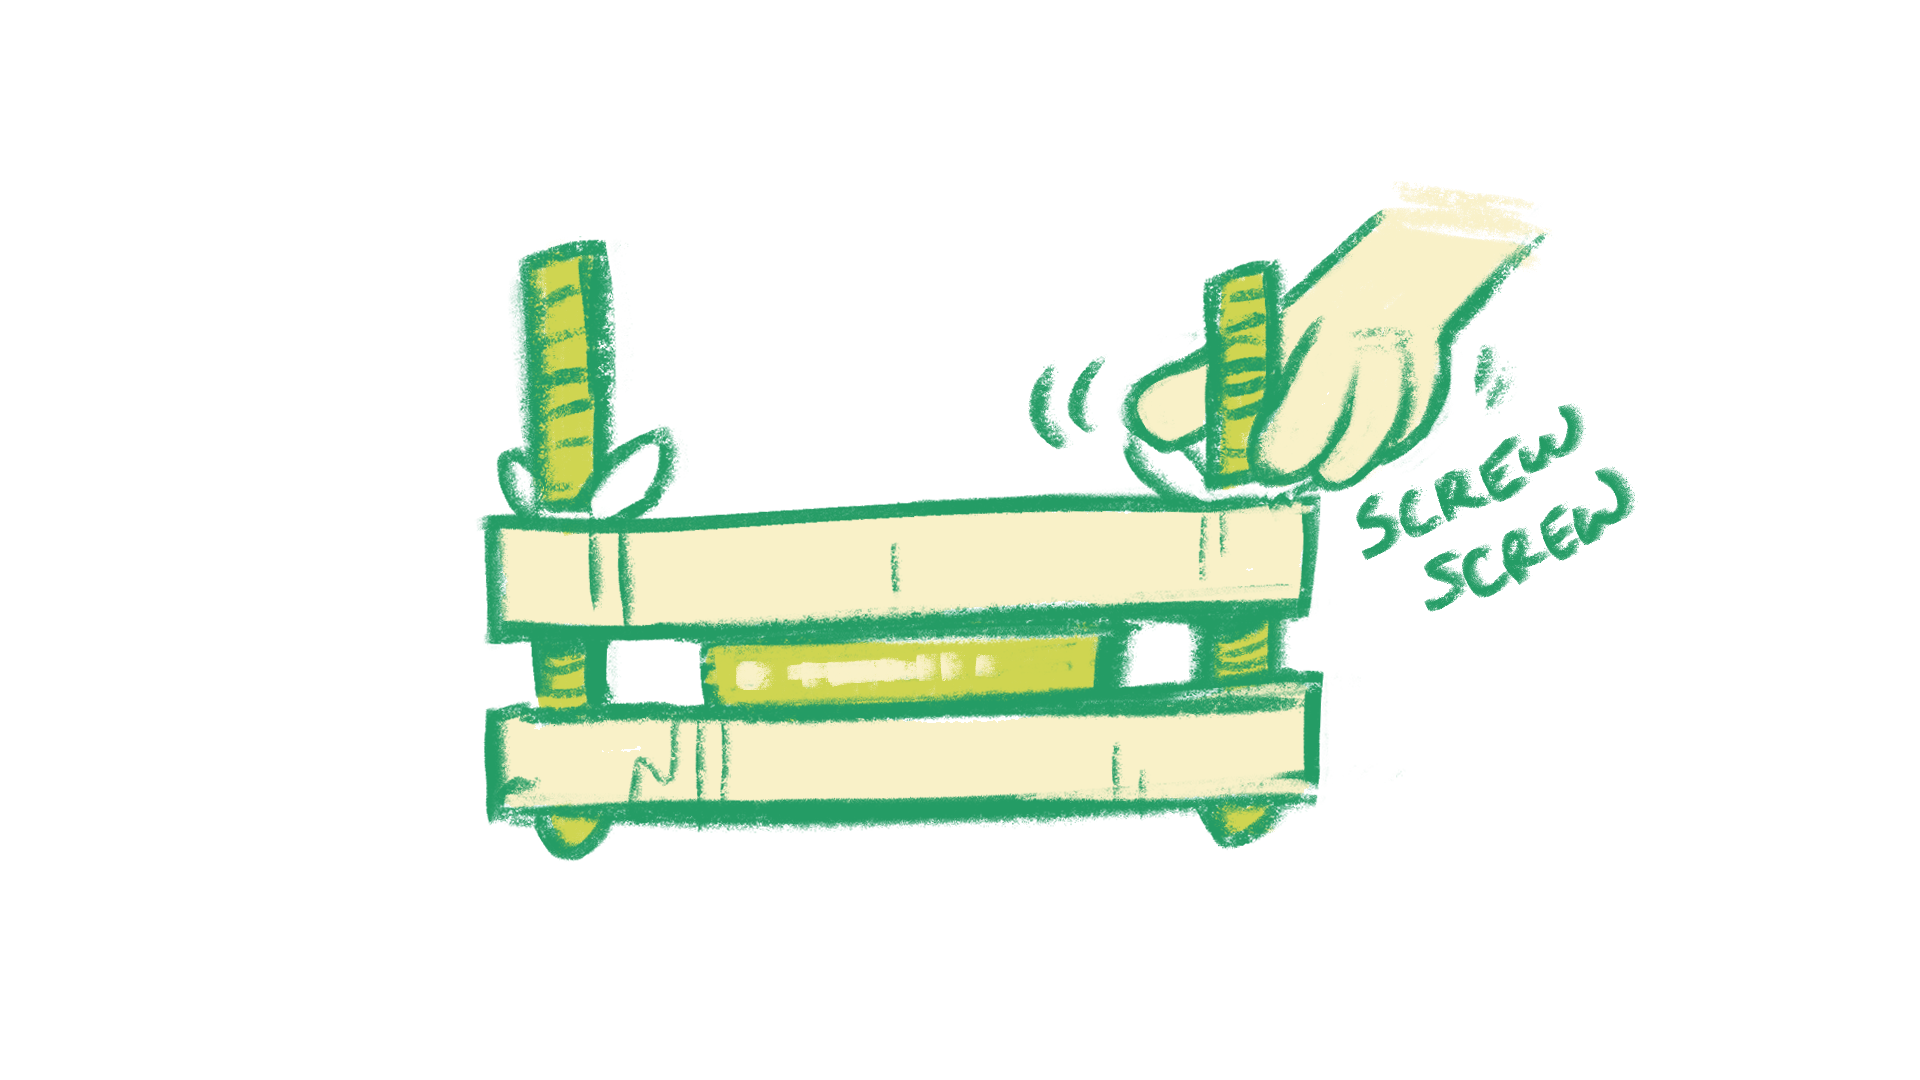
Once it’s dry, all that’s left is to trim your book to perfection and send it out into the world. Now you’ve got a totally bookstore-worthy paperback, made right in a tiny NYC apartment!
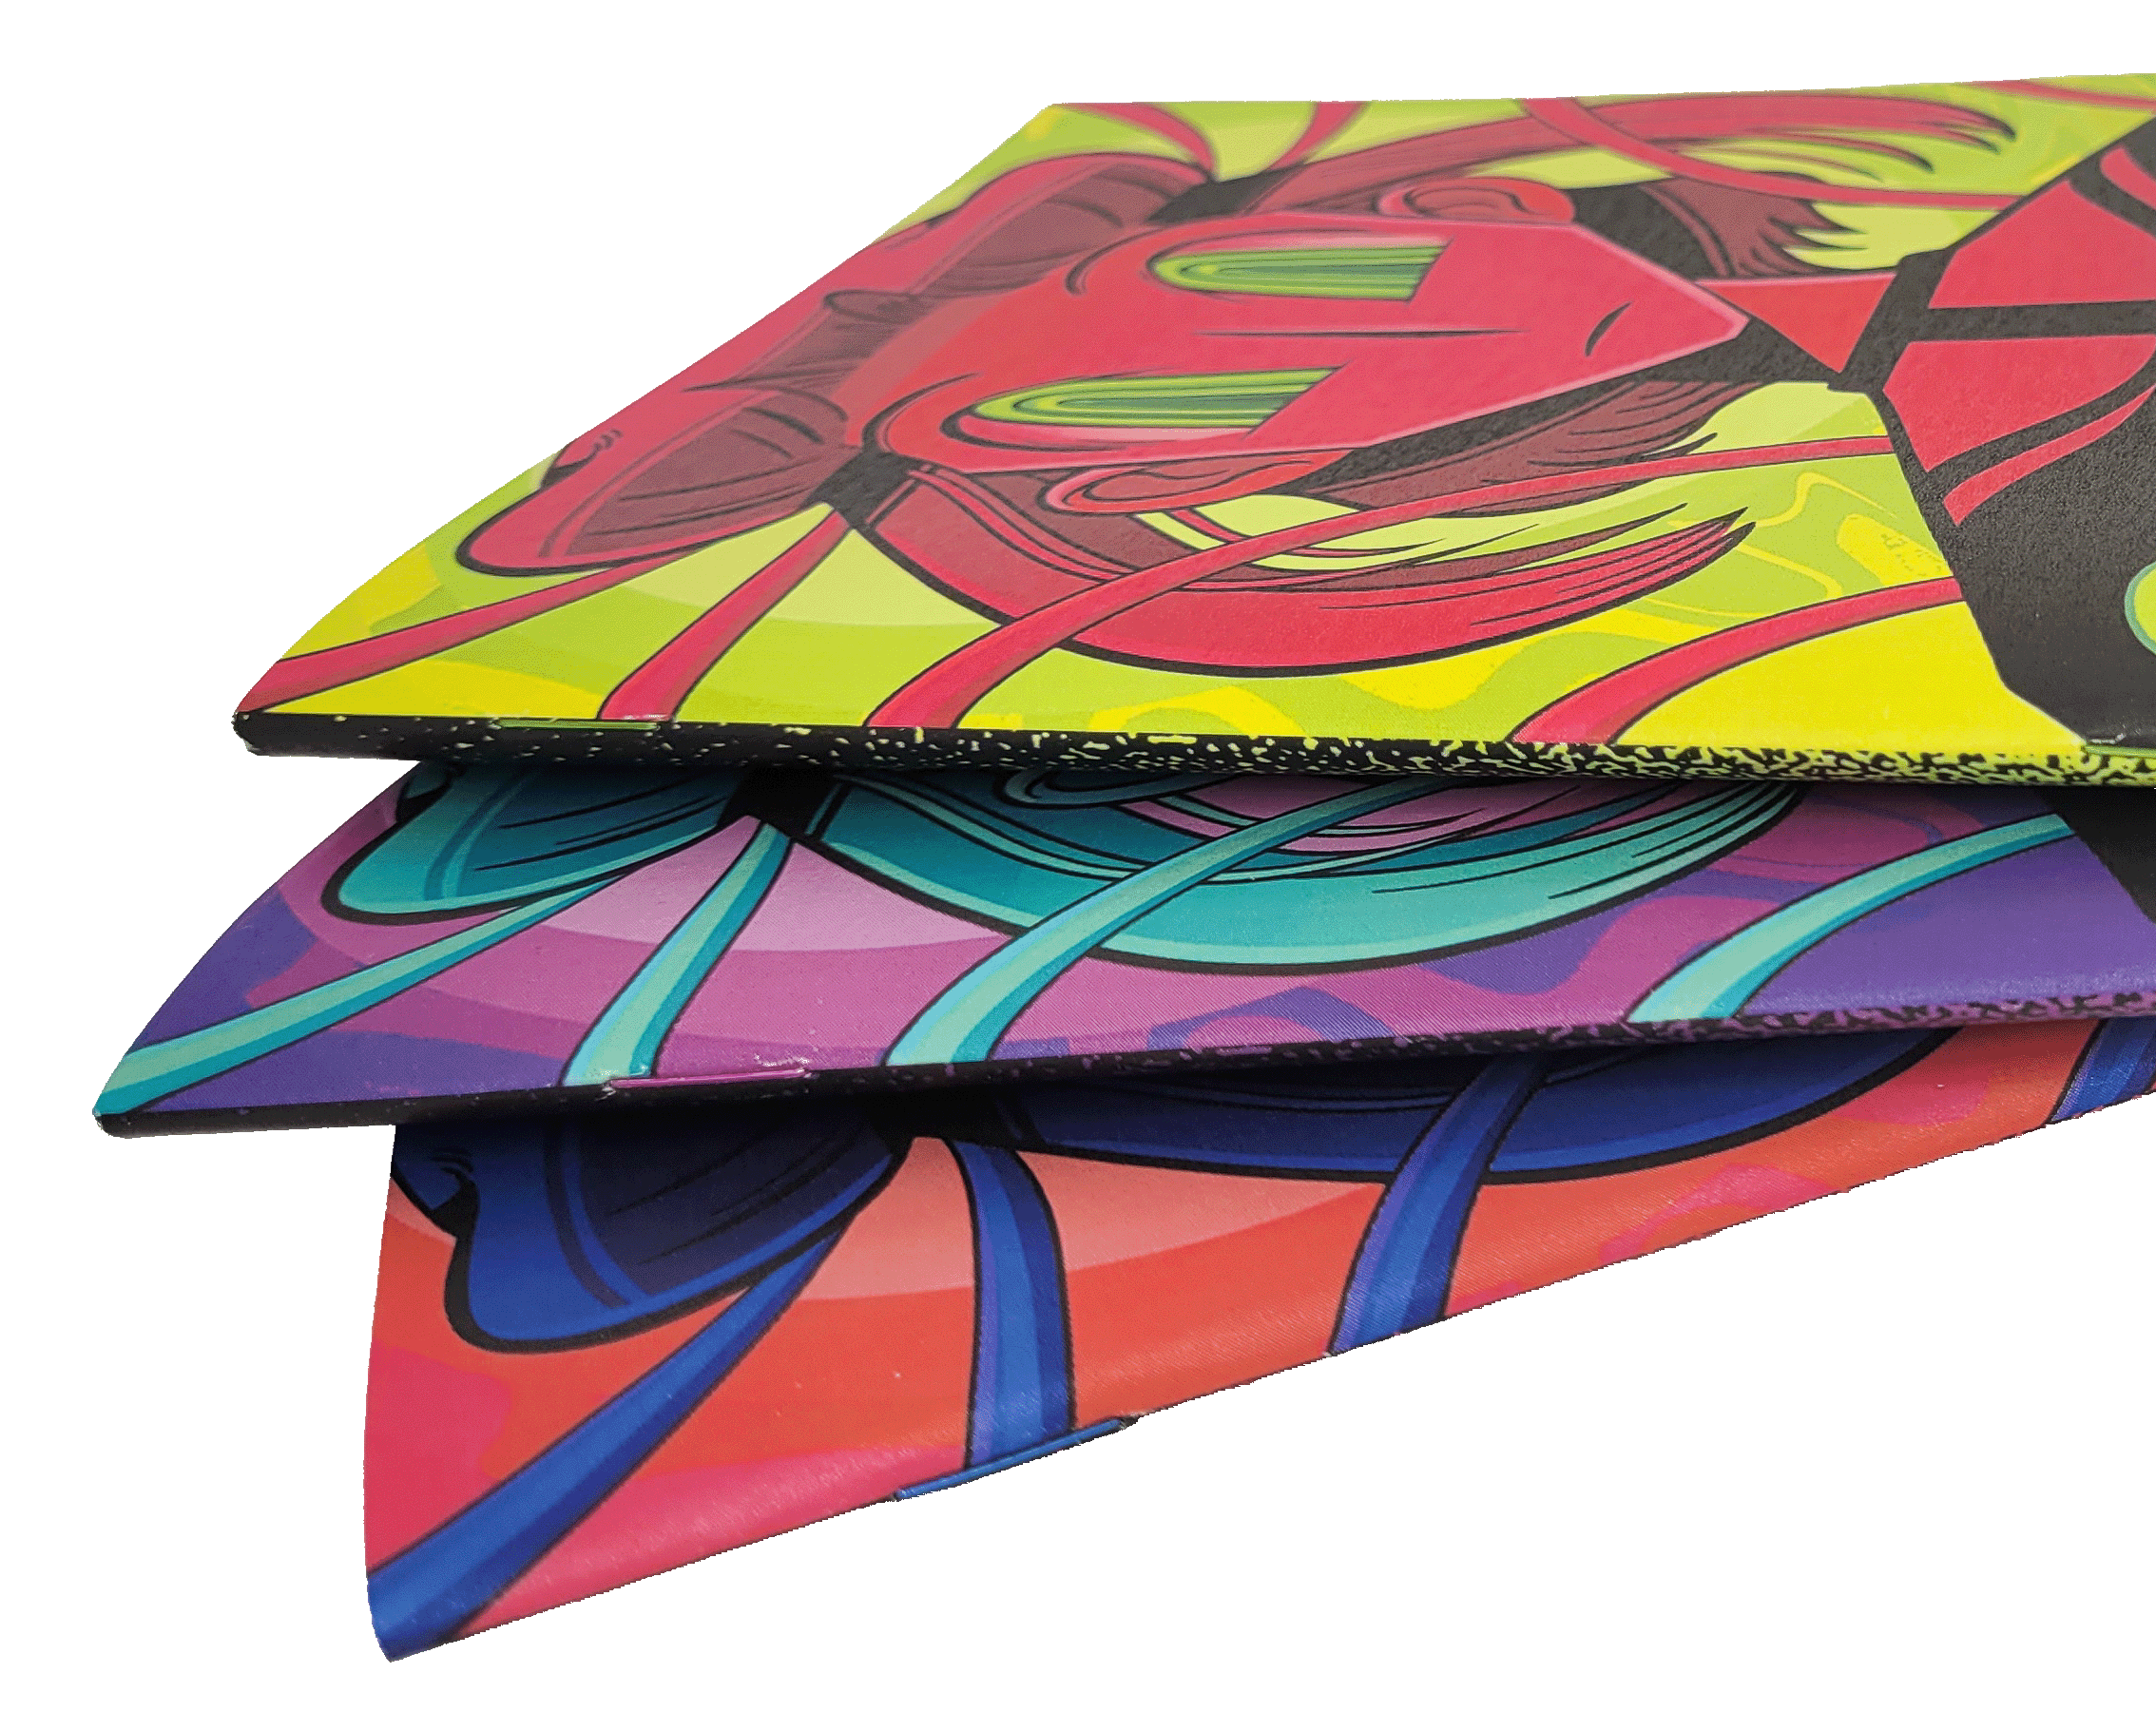
Projects we love
Gaze upon the covers - yes, plural! - of Kye Cook’s surreal webcomic now curated in a physical edition, Seluda.
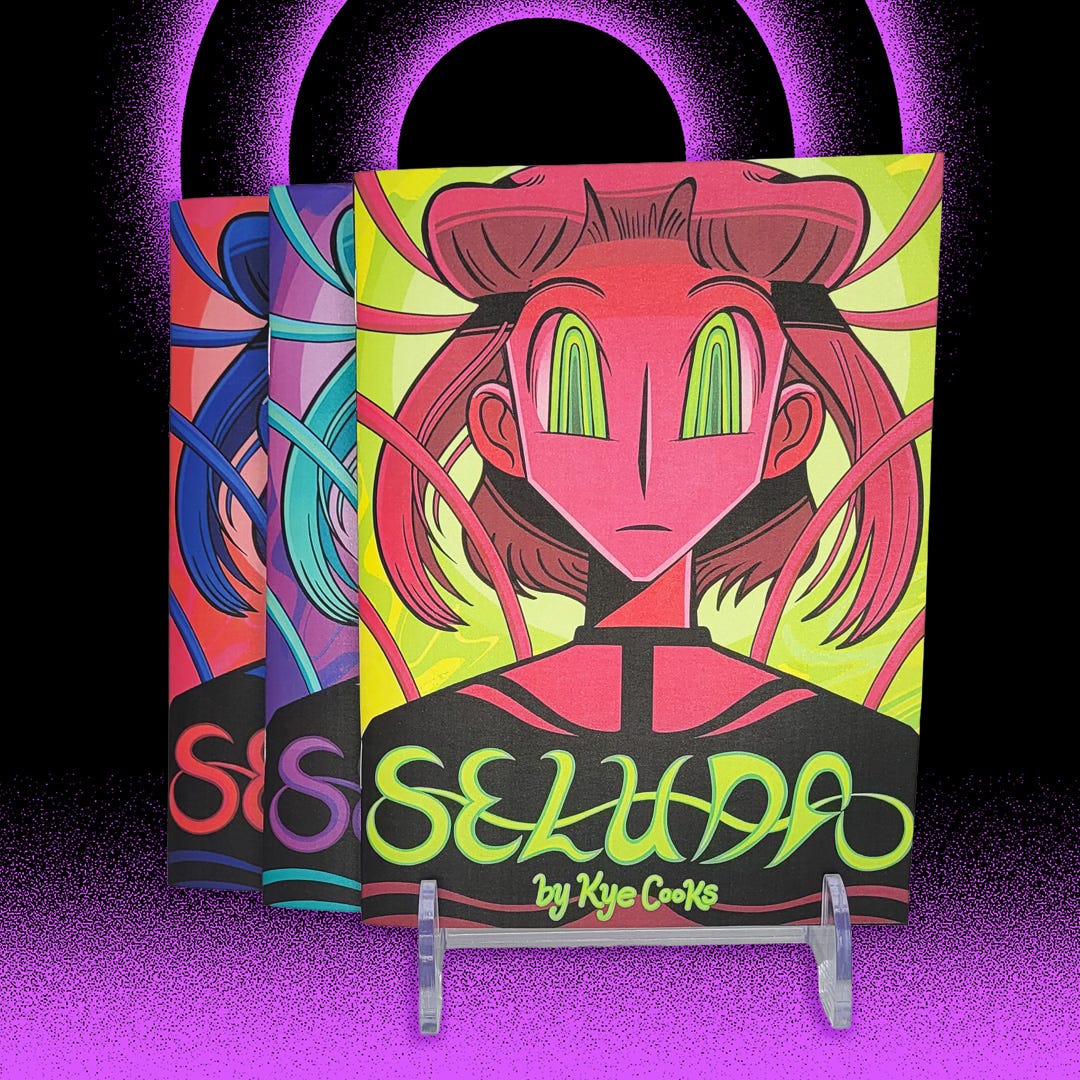
We had a lot of fun putting together these alternate covers on our favorite sparkly Stardream paper, and we just had to pair matching staples.
Do you have a project you’d like to create with us? Click the banner below to check out what we have to offer and tell us about your next project. Reach out by June 20th for delivery by July 11th.

That’s all for now - and see you this weekend at Frog Farm Fair II if you’ll be in NYC!
Love, Shannon & Maddie